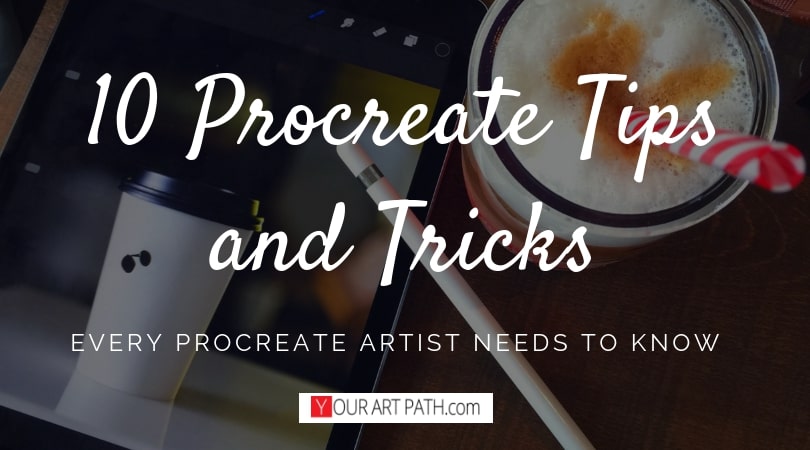
I’m simply in LOVE with the Procreate App!
I’ve been using it for over a year now, and have some Procreate tips and tricks that I would love to share with you today!
Other Procreate App resources you might enjoy:
Tip #1. Flip Canvas
I decided to start out with this tip because I think it is CRUCIAL for any medium artist to flip their canvas from time to time.
The reason is that we get so close to our drawing/painting since we stare at it for a long time! And that fools our brain – we get used to how things look now, and so everything about our artwork seems right and normal.
And only when we make ourselves look at the work from a completely different perspective is when we begin to notice those nasty mistakes!
If you follow any famous artists, almost all of them use this tip constantly. At first I didn’t get it, and I was getting dizzy from watching their video painting time lapses that have constant flipping in them!

But only when I began implementing this tip is when I understood the true value of it.
If you don’t ever flip canvas when working, I challenge you to go to your old work and flip it. Let me know how that went 🙂
Moreover, did you know that traditional artists since even a while back were using this tip??
They couldn’t necessarily “flip” canvases, but they figured out a way.
Artists would place a mirror behind them to see reflection of their painting while they are working! Many traditional artists use this trick till this day!
And that takes a lot of effort – so must be worth it! All you have to do – click “Flip Canvas”.
No excuses now!
Tip #2. Record Videos In High Quality
Now, you probably already know that if you go to “Settings” – “Video” you can set up a recording of your painting process!
It’s a truly awesome feature to see for yourself how your process went, and to share it on social media!
What this tip is all about is the quality of your recordings! Did you know you can change it?
You can’t do so in the Procreate App itself, but you can access this feature in your Ipad’s “Settings” -> “Procreate” and change the quality of your recordings in there.
You might not need to record it in super high-quality. But if you have a large social media following (or are planning to build one) it’s always nice to just go one step further. Don’t you prefer quality videos to pixelated ones?
Just some things to keep in mind:
- If you pick the highest 4K recording then you won’t be able to save it to your camera roll.
You will have to airdrop it to you computer/laptop. Or save it to iCloud/ iPad….etc…. - When you make changes to your setting – they will only affect your new work.
(So if you used the lowest quality recording – all of your past works will still have it and only the new artworks will begin recording in a higher quality.) - The higher the quality of your recording – the larger the file and the longer it takes to export it!
Tip #3. Use a Screen recorder (instead of Procreate Video)
Don’t like the choppy look of Procreate recording?
I get it. It only records your stroke actions and then put’s it together – that’s why the recordings are only a few second to a few minutes long.
But if you are looking to create a time-lapse like Photoshop users – you can always just record your screen and then edit that footage!
This way, you will be able to show your whole process and all the details you are making!
You know how you sometimes zoom in and focus just on one part of your work for a very long time? And then the Procreate video seems like it stuck and nothing is really happening?
Well, if you use a screen recorder – when you zoom in – so does your video. And your viewers will automatically see all of the changes you are putting in 🙂
Tip #4. Use Alpha Lock
I LOVE this tool! It’s my absolute favourite for soooo many reasons!
It’s amazing when you need to color things, work within the lines, or even change the color of your linear!
If you aren’t using it yet – you are missing out! Give it a shot!
You can access it by going to the layers panel and clicking on a layer. A menu with “Alpha Lock” option should pop up.
Experiment with it!
Side Note: I have a whole lesson just on Alpha Lock in “Mastering Procreate App”.
Tip #5. Use Liquify
 When I first started using Procreate this was the only one feature that I was truly missing! And they’ve added it – imagine just how thrilled I was!!
You can find it in the “adjustments” tab.
What I use it for:
- Fixing anatomy!
- Changing facial features/expressions
- Moving parts of the artwork around
It’s really a magnificent tool! If you haven’t given it a shot yet – do it!
Side Note: You can get 2 of my Favorite Hair Brushes for Procreate FOR FREE below!
Tip #6. Group Your Layers
Depending on your style of work you might have 1 layer – or you might have a 100!
For me, I have A LOT! And I often get lost when trying to find the right one.
Smart people told me – “NAME your layers!”. And they are right, that would’ve been very useful.
But I just can’t seem to make myself do it.
So, I found another way that works for me – grouping layer together! And then I would sometimes give a specific name to a group. It’s really useful !
I usually have “Sketch/Development” group, also “Background”, “Character” and “Foreground”. Just an easy way of separating everything without too much work.
Tip #7. Enhance With Filters
Use awesome filters that Procreate developers added to the program!
You can find them by going to “Adjustment” menu.
My favorites are “Blur”, “Noise” and “Curves”!
They can really add those beautiful finishing touches to your work.
Related Article:
Tip #8. Use Layer Modes
Layer modes were created to help you speed up the process of creating work.
For example, if you need to recolor a fully painted piece of clothing – you can create a new layer on top of it and set it to “Hue” or “color” ! And the biggest part of your job is done – now you might just still have to make a few slight modifications.
Other layer modes are useful as well!
Some of which I use the most often are: Overlay, Multiply, Screen and Hue.
Tip #9. Smudge With A Different Brush
Did you know that you can smudge with a different brush?
That’s probably one of my favorite features of all times!
In Photoshop you can’t really set this up, but that’s where Procreate is truly an innovative app.
Changing your smudge tool to a different brush than the one you use to draw/paint can really make A LOT of difference.
It’s awesome for creating unique textures, patterns and changing the overall look/feel of your work.
Tip #10. Back Up!
Something not a lot of people talk about – but is VERY important to do!
You never know what will happen to your iPad tomorrow – and then what? All of your beautiful work gone forever???
Nope, stay protected from this and back up your files to Google Drive, Dropbox or some other platform. You will not regret it.
Better safe than sorry 😉
Want to know more?
Gem my PDF of 20 Things Every Procreate Artist Needs To Know!